
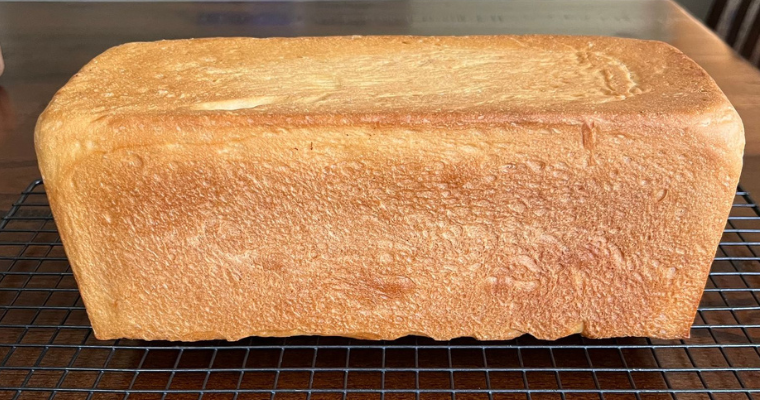
White Sandwich Loaf
There is nothing quite like making your own bread. You really do feel like a domestic goddess and the whole house expectantly waits for the bread to come out of the oven, ah …… those tempting smells waft through the air.
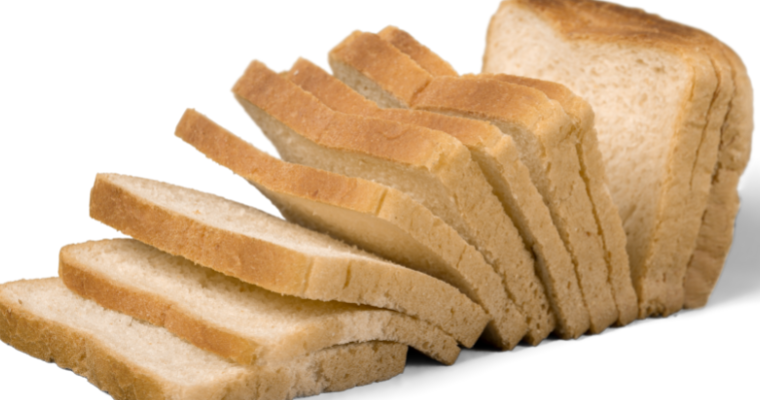
This loaf rises tall and is crusty on the outside and pillowy soft inside. Perfect for sandwiches and great for toast the following day. It really does take minutes to get the dough done in the Thermomix. This ease and the amazing taste will see you making this bread over and over.
INGREDIENTS
I use just 7 basic ingredients
- Water: use tepid water to activate the yeast.
- Sugar: castor sugar is great and will feed the yeast and ensure a lofty rise
- Instant yeast: instant yeast is a dry yeast that absorbs liquid rapidly and does not need to be rehydrated or proofed before being mixed into flour. It’s readily available in the supermarket and best stored in the fridge
- Bakers flour: is a type of flour used specifically for making bread. It has more protein compared to plain flour, giving the dough more structure and helping it rise higher. This leads to a lighter and airier texture in the finished bread. You can use plain flour but your dough will be denser.
- Salt: adds flavour but keep it away from the yeast! I use a non iodized table or kosher salt in my baking.
- Bread Improver: Bread improver is a store-bought product that helps improve the look and taste of bread. It’s made up of ingredients like enzymes, emulsifiers, and reducing agents that help the dough rise higher, have a better texture, and a nicer crust colour.
- Olive Oil: for flavour and to help keep the dough moist.
Proofing is important.
Here are some tips for proofing bread:
- Cover the dough: Cover the dough with plastic wrap or a damp towel to prevent it from drying out.
- Use a warm place: Proof the dough in a warm place, such as a sunny windowsill or near a heating vent.
- Avoid drafts: Avoid proofing the dough in a drafty area, as this can cause the dough to rise unevenly.
- Proof until doubled in size: Depending on the recipe, the dough should take between 45 minutes and 2 hours to double in size.
- Gently press the dough: To check if the dough is ready, gently press it with your finger. If the dough springs back, it needs more time to proof. If the indentation remains, the dough is ready to be baked.
- Don’t overproof: Overproofing can cause the dough to collapse, resulting in a dense, heavy loaf. If the dough has risen too much, gently punch it down and reshape it before baking.
IS IT DONE?
A quick, simple way to check whether your homemade bread loaf is done is to tap the bread on top for that characteristic “hollow” sound.
Watch me make it in this quick YouTube video.
TheMix Shop
Our very own shop here in Australia to get products to enhance your thermie cooking experience. When shopping please remember to select your consultant at checkout, or me if you have not got an active consultant.
I used:
Stainless Steel Dough Cutter: https://thermomix.com.au/products/metal-bowl-scraper
Thermomix® Baking Mat: https://thermomix.com.au/products/thermomix-thermomat
Bread Tin with Lid: https://thermomix.com.au/products/thermomix-bread-tin-with-lid

White Sandwich Loaf
Equipment
- TM31, TM5 or TM6
Ingredients
- 280 grams tepid water
- 1 tsp castor sugar
- 1 1/2 tsp instant yeast
- 500 grams bakers flour
- 1 tsp salt
- 1 tsp bread improver
- 1 tsp olive oil
Instructions
- Add all ingredients into Thermomix bowl in the order listed in ingredients, so water first, olive oil last. Mix 15 secs/speed 3.
- Using the dough function, knead for 6 mins.
- Form dough into a ball and place in a large oiled bowl, cover in plastic wrap and set aside in a warm spot until doubled in size.
- Oil bread tin and lid if using, by popping a few drops of olive oil on some kitchen paper and rubbing the tin and lid. Set aside
- Knock back the dough (punch the air out and pull the dough in on itself). Remove from bowl to bench.
- Use your fingers to gently pat all over to remove any air pockets. Starting at the short end, roll up the rectangle into a tight roll and pinch the seams to seal. Using a bench scraper, cut log into three pieces and place into prepared tin, seam side down. Cover with lid or a greased piece of plastic wrap and let rise for about 30 minutes in a warm, draft-free place until doubled in size. If using lid, take a peak!
- Pre heat oven to 180° fan force. Once risen, pop tin into a pre heated oven with lid still on if using. After 25 mins, remove lid and continue to cook for a further 5 – 10 mins until it is the colour you like.
- Remove from tin and cool on a wire rack.
Notes
- You don’t need to use bread improver, but the rise and texture of your bread will not be as good.
- Putting some ice cubes in the oven (in a tin) when you take the lid off will help with a nice crisp loaf. You could also spray a little water into the oven for the same effect.
- Bread dough that is successful risen/proofed will spring back slowly when poked and leave an indent. If it snaps back too quickly, it needs more time.
- Be careful not to overproof. Pressing your finger into the surface of the dough for 2 seconds and then see how quickly it springs back. The dent you make will be permanent if the dough is overproofed.
- If you pull back the lid to see if the dough has risen and it sticks, leave alone. Pop into the oven and cook.