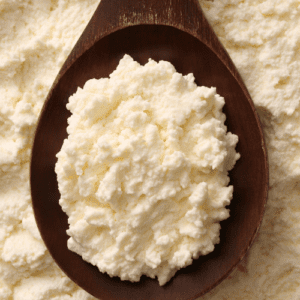
Ricotta
Thermie made Ricotta is so incredibly simple and delicious you will be making it over and over again. The process of making ricotta involves heating the milk, adding the acid, and then straining the curds from the whey. It’s a relatively quick process that allows you to enjoy fresh homemade ricotta in a short amount of time.
Ingredients
Thermie made ricotta is relatively simple to make and requires just a few basic ingredients. The key ingredient is milk, which is usually combined with an acid to separate the curds from the whey. Here are the best ingredients to make homemade ricotta:
- Milk: Full Fat milk is the most commonly used milk for making ricotta. The fat content in whole milk contributes to the creamy texture and flavour of the cheese. I like to use a full fat fresh milk that is non pasturised. You can also use low-fat milk if you prefer a lighter version, but you won’t get as many curds.
- Acid: An acid is used to curdle the milk and separate the curds from the whey. Common acids include white vinegar, lemon juice, or citric acid. These acids help coagulate the proteins in the milk. I tend to use vinegar for savoury ricotta dishes and lemon juice for desserts where ricotta is used and the hint of lemon will enhance the dish.
- Salt: Adding a pinch of salt to the mixture can enhance the flavour of the ricotta.
Optional ingredients that can be added for flavour variation include:
- Heavy Cream: Adding a small amount of heavy cream to the milk can increase the richness of the ricotta. This is especially useful if you’re using low-fat milk.
- Herbs and Spices: You can infuse the milk with herbs and spices like thyme, rosemary, or black pepper to add a subtle flavour to the ricotta.
- Garlic or Onion: Adding a clove of garlic or a slice of onion to the milk while heating can infuse the ricotta with savoury flavours.
What can you use Ricotta for?
Ricotta cheese is incredibly versatile and can be used in a variety of dishes, both savoury and sweet.
Savoury Dishes:
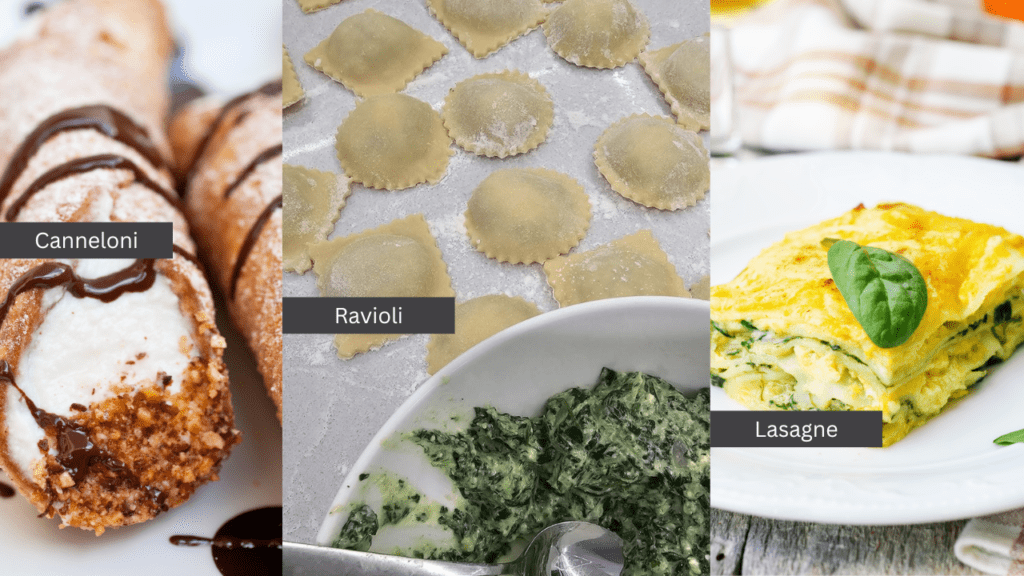
- Stuffed Pasta: Ricotta is commonly used as a filling for stuffed pasta dishes like ravioli, manicotti, and stuffed shells.
- Lasagne: Layering ricotta between sheets of lasagne noodles and sauce creates a creamy, cheesy layer in this classic Italian dish.
- Pizza: Dollops of ricotta can be added to pizzas along with other toppings for a creamy texture and added flavour.
- Savoury Tarts: Ricotta can be used as a filling for savoury tarts or quiches along with vegetables and herbs.
- Sauces: Ricotta can be incorporated into pasta sauces to add creaminess and depth of flavour.
- Dips: Mixing ricotta with herbs and spices creates a flavourful dip for vegetables, crackers, or bread.
Sweet Dishes:
- Cheesecakes: Ricotta is often used in cheesecake recipes to create a lighter, fluffier texture compared to traditional cream cheese.
- Cannoli: Ricotta cheese is a key ingredient in the creamy filling of cannoli, a popular Italian pastry.
- Pancakes and Waffles: Adding ricotta to pancake or waffle batter results in a moist and tender texture.
- Dessert Ravioli: Sweet ricotta fillings can be used in dessert ravioli or dumplings, often served with fruit compotes or chocolate sauce.
- Tarts and Pastries: Ricotta can be used as a filling for sweet tarts, turnovers, and pastries, often combined with fruits or nuts.
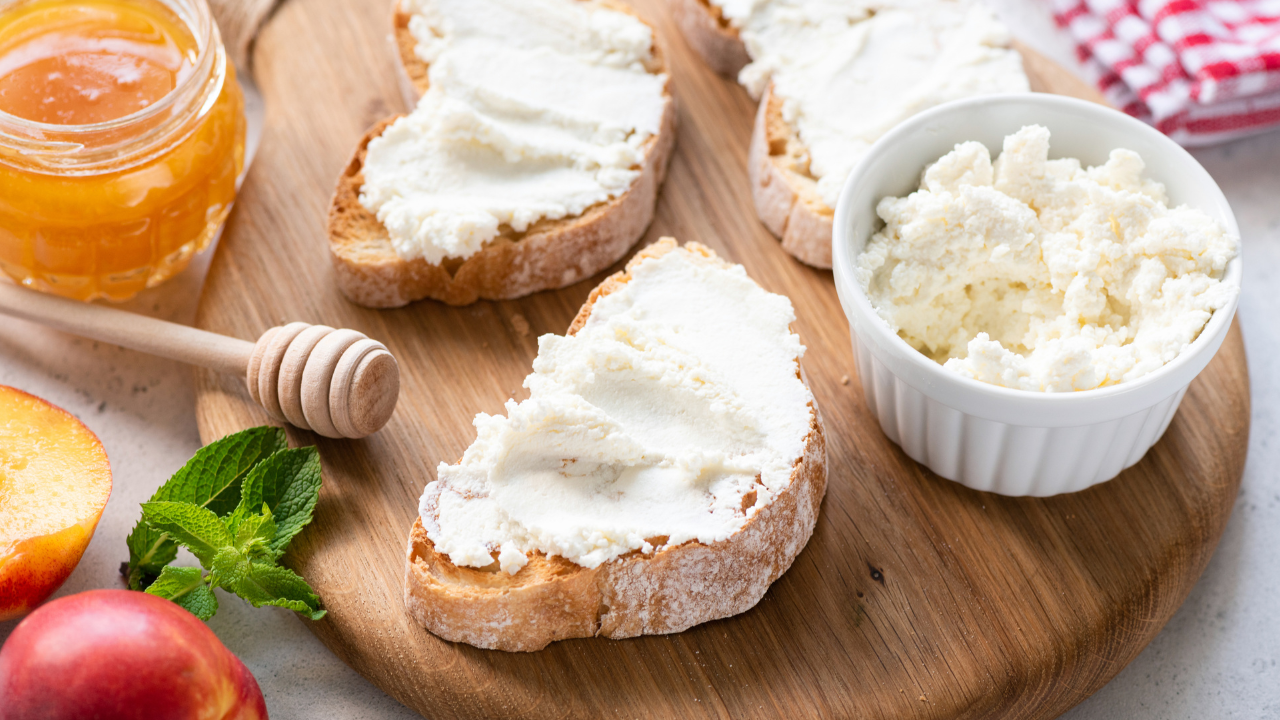
- Fruit Parfaits: Layering ricotta with fresh or stewed fruits and a drizzle of honey creates a delicious and nutritious dessert.
General Uses:
- Spreads: Ricotta can be used as a spread on toast, crackers, or as a filling for sandwiches.
- Dips and Snacks: It can be mixed with herbs, spices, and other flavourings to create versatile dips and spreads.
- Baking: Ricotta can be added to muffins, quick breads, and cakes for moisture and flavour.
- Smoothies: Adding a spoonful of ricotta to smoothies can enhance their creaminess and protein content.
- Pasta Mix-ins: Toss cooked pasta with ricotta, herbs, and vegetables for a simple yet flavourful dish.
These are just a few examples of the many ways you can use ricotta cheese in your cooking and baking. Its creamy texture and mild flavour make it a great addition to a wide range of dishes.
What to do with the leftover Whey
Leftover whey, the liquid that remains after curds have been removed can be used in various ways. Whey is rich in nutrients and can add flavour and nutritional value to a variety of dishes. Here are some ways to use leftover whey:
- Cooking Grains: Use whey instead of water to cook grains like rice, quinoa, or oats. This can add a subtle tang and extra nutrients to your dishes.
- Soups and Stews: Substitute whey for part of the broth or water in soups and stews to enhance their flavour and nutritional content.
- Smoothies: Add whey to your smoothies for an extra boost of protein and nutrients. It can work well with both fruity and savoury smoothies.
- Baking: Whey can be used in baking recipes that call for liquid. It can add moisture and a slight tang to baked goods like bread, muffins, and pancakes.
- Marinades and Brines: Whey can be used as a base for marinades and brines for meats and vegetables. The acidity can help tenderize and flavour the food.
- Fermentation: Whey is a common starter culture for lacto-fermented foods like sauerkraut, kimchi, and pickles. It helps kick-start the fermentation process.
- Plant Watering: Diluted whey can be used as a nutrient-rich water for watering plants. It can help enrich the soil with minerals and nutrients.
- Skin and Hair Care: Some people use whey as a hair rinse or in skincare routines, claiming that its proteins and nutrients can benefit the skin and hair. I have not tried this!
Remember that whey is perishable and can go bad, so it’s best to use it within a reasonable time frame, especially if you’re storing it in the refrigerator. If you’re not able to use it all at once, you can freeze leftover whey in small portions to use later.
Storing Homemade Ricotta
Storing homemade ricotta requires similar principles as storing store-bought ricotta.
- Cool Before Storing: Allow the freshly made ricotta to cool to room temperature before storing it. This helps prevent condensation from forming inside the storage container.
- Airtight Container: Transfer the homemade ricotta to an airtight container. Use a container that provides a snug fit for the amount of ricotta you’ve made. A glass or plastic container with a tight-fitting lid works well.
- Drain Excess Liquid: If there’s any excess whey or liquid in the container, drain it off before sealing. Excess liquid can lead to a watery texture and affect the quality of the ricotta.
- Avoid Compacting: Try not to press down or compact the ricotta too much in the container. You want to maintain its light and fluffy texture.
- Plastic Wrap: You can place a piece of plastic wrap directly on the surface of the ricotta before sealing the container. This helps create a barrier against air and moisture, which can help keep the ricotta fresh.
- Refrigeration: Store the homemade ricotta in the coldest part of the frige. The cooler temperature slows down bacterial growth and helps maintain freshness.
- Use Quickly: Homemade ricotta doesn’t have preservatives like commercial products, so it’s best to use it within a week of making it. The fresher it is, the better it will taste and perform

Freezing Homemade Ricotta
You can freeze homemade ricotta, but there are some important considerations to keep in mind to ensure the best quality after thawing. Freezing can alter the texture of ricotta slightly, making it a bit grainier upon thawing. However, frozen ricotta is still suitable for cooking and baking applications. Here’s how to freeze homemade ricotta:
- Portioning: Divide the homemade ricotta into portions based on how you plan to use it in the future. Consider freezing it in amounts that you’re likely to use in a single recipe to minimize the need for repeated thawing and refreezing.
- Airtight Containers or Freezer Bags: Place the portions of ricotta in airtight containers or heavy-duty freezer bags. Press out as much air as possible before sealing to prevent freezer burn.
- Labelling and Dating: Clearly label each container or bag with the date of freezing. This helps you keep track of how long the ricotta has been frozen.
- Freezing Process: Place the containers or bags in the freezer, preferably in a single layer to allow for quicker freezing. Once the ricotta is frozen, you can rearrange items in the freezer for more efficient storage.
- Thawing: When you’re ready to use the frozen ricotta, transfer it to the refrigerator and let it thaw slowly. This gradual thawing process helps maintain the best texture. Avoid thawing ricotta at room temperature, as rapid temperature changes can cause more significant texture changes.
- Texture Changes: As mentioned earlier, frozen and thawed ricotta might have a slightly grainy texture compared to freshly made ricotta. While it might not be ideal for dishes where a creamy texture is crucial (like cannoli filling), it is perfectly fine for recipes that involve cooking or baking, such as lasagne, stuffed pasta, or baked goods.
- Cooking and Baking: Consider using the thawed ricotta in recipes where it’s mixed with other ingredients, as this can help mask any minor texture changes.
Remember that freezing ricotta is a convenient option to extend its shelf life, but the quality might not be exactly the same as freshly made ricotta.
Ricotta
Ingredients
- 2 litres full cream milk
- 70 grams white vinegar
- 1 tsp salt optional
Instructions
- Add milk and salt to TM bowl and heat 12mins/90℃/speed 2. If you are using milk from the fridge it may take longer – heat until it reaches 90℃
- Once the milk reaches 90°C, add vinegar, drizzling it around the bowl. Stir 1 min/speed 1. The milk should start to curdle.
- Leave in TM bowl, undisturbed for 20 mins to allow separation between the whey and curds.
- Using a slotted spoon or small sieve, gently remove curds into a cheesecloth or chux lined colander, placed atop a large bowl. Allow to drain for approx. 10 mins or longer if you want a dryer ricotta.
- Use as needed.