PAVLOVA
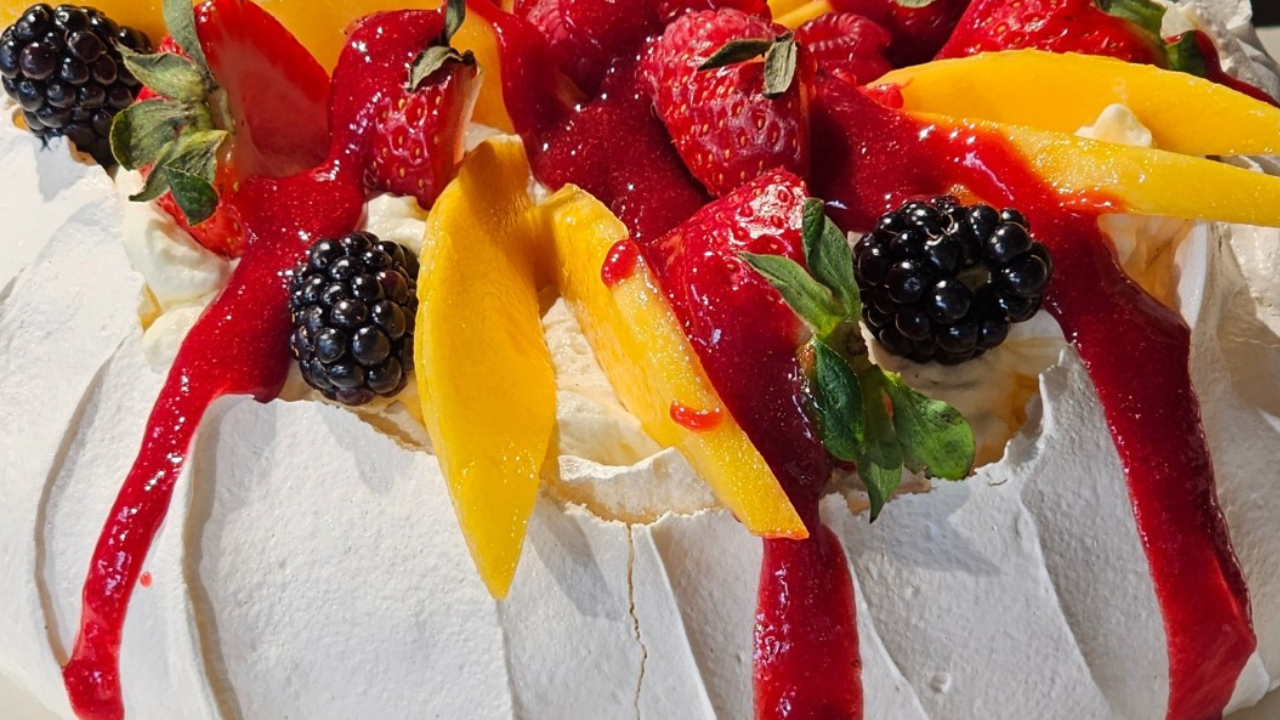
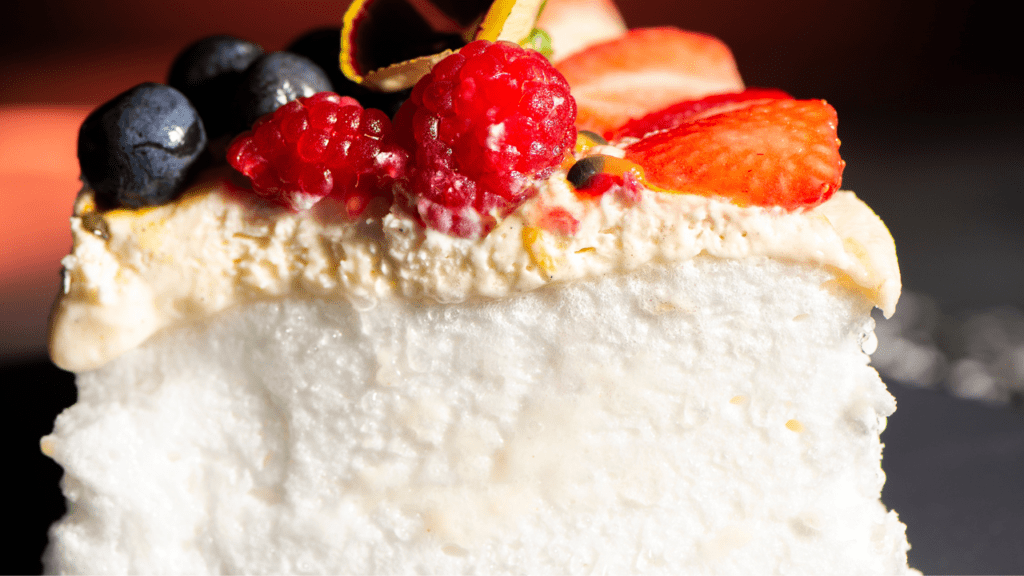
My meringue base is crisp on the outside, marshmallowy soft inside and is crowned with a fresh burst of whipped chantilly cream, a colourful cascade of fruits and drizzled with raspberry coulis. It’s simply delicious! Follow my recipe and let the Thermomix work its magic, sit back and wait for the compliments!
Ingredients
- Egg Whites:
- These must be whole fresh eggs, not the type that come in a carton. Separate your eggs when cold, and bring the whites to room temperature, this will help them whip up faster.
- Cream of Tarter:
- Cream of tartar helps stabilize the egg whites, allowing them to reach stiff peaks more easily and maintain their structure during baking. You can add more vinegar or lemon, but I feel adding as little liquid as possible helps to create a fabulous meringue.
- Cornflour:
- Cornflour is added to the meringue mixture to help create a crisp exterior and a soft interior.
- White Vinegar:
- Acidic ingredients like white vinegar or lemon juice are used to stabilize the meringue and contribute to the pavlova’s texture.
- Sugar:
- Use caster sugar as it has smaller granules. To make caster sugar in your Thermomix from granulated, simply blend for 2 secs/speed 8.
- Vanilla Extract:
- Some people like to add vanilla to mask any eggy taste. I find it not necessary and try to keep my meringue as white as possible.

TIPS
- Weather:
- Humid weather or a rainy day can cause the sugar in the meringue to absorb extra moisture in the air and turn sticky or form small, syrupy beads. If you can, choose a dry, sunny day to make a meringue
- Moisture:
- Don’t boil a kettle, or fill a sink with hot water when making a meringue. Moisture is the enemy!
- Fresh Eggs at Room Temperature:
- Use fresh eggs at room temperature. Egg whites whip better at room temperature, leading to a more stable meringue.
- Clean and Dry Equipment:
- Ensure that your mixing bowl, butterfly, and all utensils are clean and completely dry. Any trace of grease or moisture can hinder the egg whites from whipping up properly. Use white vinegar to ensure everything is squeaky clean!
- Separate Eggs Carefully:
- When separating egg whites from yolks, be careful not to get any yolk into the whites, as even a small amount of fat can affect the meringue. Separate them when they are cold, straight from the fridge.
- Gradually Add Sugar:
- Add the sugar gradually while whipping the egg whites. This allows the sugar to dissolve properly and helps create a smooth, glossy meringue. Sprinkle 1 tbsp at a time! It should take about 5 mins to get through.
- Check for Stiff Peaks:
- Whip the egg whites until they form stiff peaks. Over-whipping can result in a dry meringue, so stop when the peaks hold their shape.
- Add Cornflour:
- Adding a small amount of cornflour helps create a pavlova with a crisp exterior and a soft, marshmallow-like interior.
- Shape on Parchment Paper:
- Trace the desired pavlova shape on baking paper, then flip it over and use it as a guide. This way, you won’t get pencil or ink on your pavlova.
- Create a well in the Centre:
- Use a spatula to create a well in the centre of the pavlova before baking. This indentation will hold the whipped cream and fruits after baking.
- Low and Slow Baking:
- Bake the pavlova at a low temperature for an extended period. This slow baking helps create a crisp exterior while keeping the inside soft and chewy.
- Cool Gradually:
- After baking, allow the pavlova to cool in the oven with the door ajar. This gradual cooling helps prevent cracks.
- Top Just Before Serving:
- Add whipped cream and fresh fruits to the pavlova just before serving to maintain the crispness of the meringue.
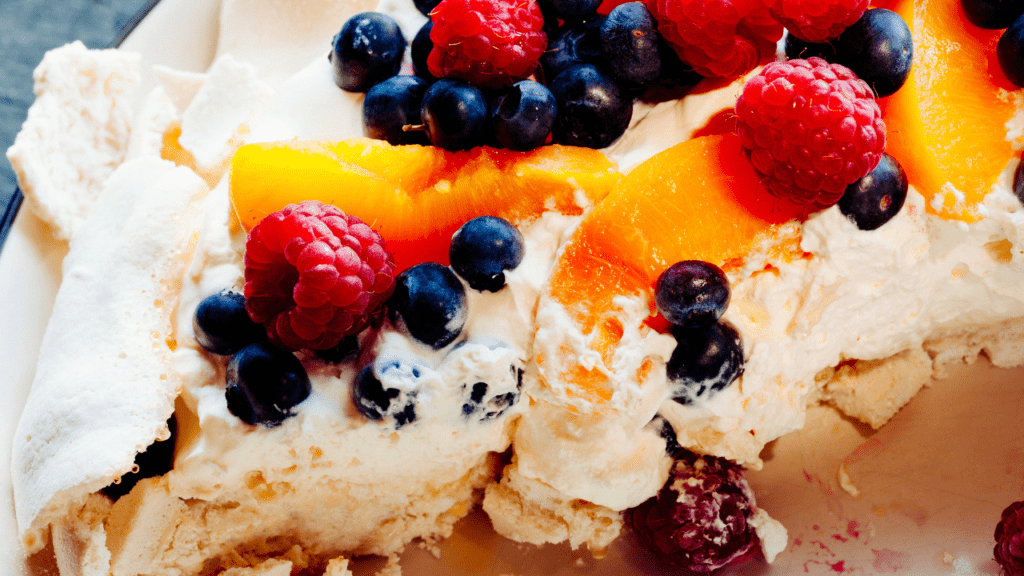
It didn’t work!
Practice makes perfect. Try again to perfect this fab dessert! If it badly cracked or sunken, your pavlova will still taste great and if you have not told anyone you are making a pavlova, they will never know and love your dessert creation!
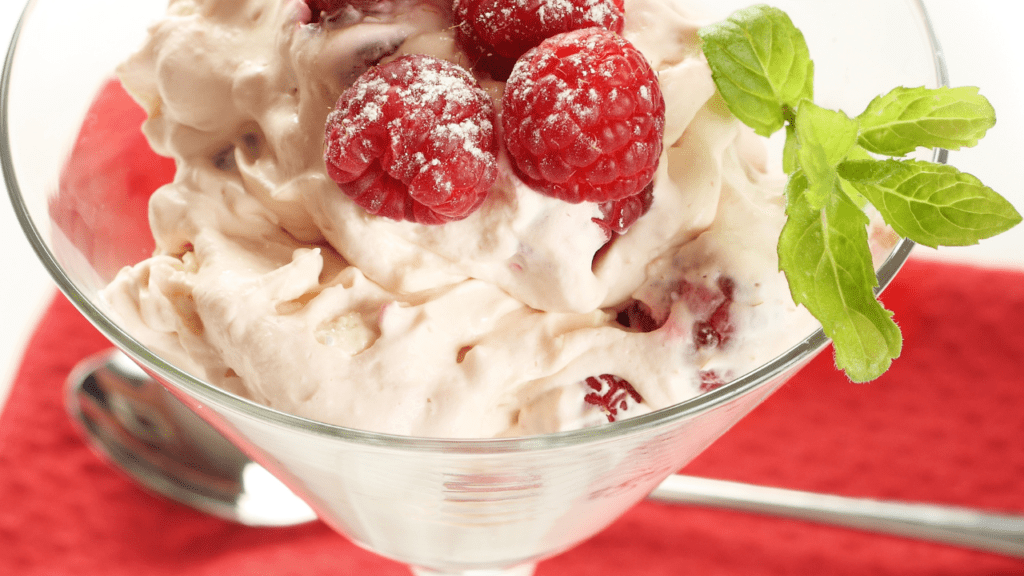
- Eton Mess: Break the failed pavlova into pieces and create an Eton Mess. Layer the broken pavlova with whipped cream and fresh berries in a beautiful glass. The combination of textures and flavours can be delightful. I actually, adore this!
- Pavlova Parfait: Crumble the failed pavlova into small pieces and layer it with yogurt or custard and fruit to create a pavlova parfait. This can make for a tasty and visually appealing dessert.
- Ice Cream Topping: Crush the failed pavlova into small bits and use it as a topping for ice cream. It adds a sweet and crunchy element to the creamy texture of the ice cream.
- Trifle: Incorporate the broken pavlova into a trifle. Layer it with fruits, custard, and whipped cream for a delicious and visually appealing dessert.
- Pavlova Sundae: Turn the failed pavlova into a pavlova sundae by layering it with your favorite ice cream, chocolate sauce, and nuts. This can be a decadent and satisfying treat.
- Pavlova Crust for Cheesecake: Crush the pavlova and use it as a crust for a no-bake cheesecake. The meringue bits can add a unique texture to the cheesecake base.
- Pavlova Milkshake: Blend the broken pavlova with milk and ice cream to create a pavlova-flavored milkshake. This can be a fun and indulgent way to enjoy the flavors of pavlova.
- Pavlova Ice Cream Cake: Layer the broken pavlova with softened ice cream in a cake pan and freeze it. Once frozen, you’ll have a pavlova ice cream cake that can be sliced and served.
Remember, the key is to get creative and have fun with the process. Even if your pavlova didn’t turn out as expected, you can still transform it into a delicious dessert with a bit of imagination.
Storing
Storing meringue requires some care to prevent it from becoming soft or sticky.
- Room Temperature:
- Meringues are best stored in a cool, dry place at room temperature. Keep them uncovered or loosely covered with wax paper or baking paper. Be careful with airtight containers, as they can trap moisture and cause the meringue to become sticky. If storing this way, make sure the meringue is totally cooled and the container is dry. Consider placing them in a container with a desiccant or a piece of plain bread. The desiccant or bread helps absorb any excess moisture.
- Avoid Humidity:
- Meringues are sensitive to humidity, so it’s essential to store them in a dry environment. Humidity can cause meringues to absorb moisture from the air, leading to a loss of crispness.
- Use Within a Few Days:
- Meringues are at their best when fresh, so it’s recommended to consume them within a few days of making. If left for an extended period, they may start to soften.
- Re-Crisping:
- If your meringues have become soft, you can try re-crisping them in a low-temperature oven. Preheat the oven to around 110°C and place the meringues in the oven for about 10-15 minutes. Keep a close eye on them to prevent over-browning.
- Avoid Refrigeration:
- Refrigeration is not recommended for meringues, as the moisture in the refrigerator can cause them to become soft and sticky.
- Freezing:
- While meringues can be frozen, it’s best to freeze them without any toppings or fillings. Place the meringues in an airtight container or wrap them tightly in plastic wrap before freezing. Thaw them at room temperature before serving. They are ok, but not as nice.
Remember that meringues are delicate and can be sensitive to environmental factors. Storing them properly ensures that you can enjoy their light and crisp texture for as long as possible.
Decorating
Decorating a pavlova is a delightful part of the process, and you can get creative with various toppings. I recommend decorating just before serving so the meringue stays crisp. Here are some ideas!
- Whipped Cream:
- Start by spreading or piping a generous layer of freshly whipped cream over the pavlova. This provides a smooth and creamy base for other toppings. Add a tbsp of sieved icing sugar and tsp of vanilla while whipping your cream for additional flavour.
- Fresh Fruits:
- Arrange an assortment of fresh fruits on top of the whipped cream. Common choices include strawberries, kiwi slices, passion fruit, raspberries, blueberries, mango, or any seasonal fruits you prefer.
- Mint Leaves:
- Add a pop of colour and freshness by garnishing the pavlova with small sprigs of fresh mint leaves.
- Edible Flowers:
- For an elegant touch, consider adding edible flowers like pansies, violas, or nasturtiums. Make sure the flowers are safe to eat and haven’t been treated with chemicals.
- Fruit Sauces or Coulis:
- Drizzle fruit sauces or coulis over the top for a burst of flavour and a decorative touch. Raspberry, passion fruit, or mango coulis work well.
- Grated Chocolate or Chocolate Shavings:
- Sprinkle grated chocolate or create chocolate shavings to add a rich and decadent element to your pavlova.
- Nuts:
- Toasted and chopped nuts, such as almonds or pistachios, can provide a delightful crunch and complement the sweetness of the pavlova.
- Coconut Flakes:
- Sprinkle desiccated coconut or toasted coconut flakes for a tropical twist.
- Dusting of Powdered Sugar:
- Lightly dust the pavlova with powdered sugar for an elegant finishing touch.
- Caramel or Dulce de Leche:
- Drizzle caramel or dulce de leche over the pavlova for added sweetness and a beautiful caramelized look.
- Whipped Ganache:
- If you want to take it up a notch, pipe or spread a layer of whipped chocolate ganache on top of the pavlova.
- Pomegranate Arils:
- The vibrant and juicy arils of pomegranate add a burst of colour and a juicy texture to the pavlova. Perfect for a festive touch!
Raspberry Coulis
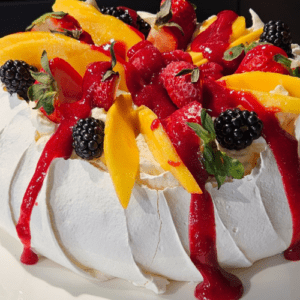
I always drizzle coulis on my pavs for balance of flavour and its so darn yummy. In fact, it’s a freezer staple in my house! To make Raspberry coulis to drizzle over your pavlova add 200g fresh or frozen raspberries, 100g caster sugar and 20g lemon juice to Thermomix Bowl. Cook 4 mins/90°C/speed 4. I like to pass through a sieve and then pop in the fridge to cool. You can use any fruit but I love the tartness of raspberries with all that sweet pavlova!
Left over egg yolks
There are so many delicious ways to use your left over egg yolks.
- Custards and Puddings: Egg yolks are a key ingredient in custards and puddings. Make classics like crème brûlée, or a rich vanilla pudding.
- Custard-Based Ice Cream: Homemade ice cream often relies on egg yolks for a creamy texture. Try making a custard-based ice cream by combining egg yolks with milk, cream, sugar, and your favourite flavourings. Cookidoo has so many great recipes!
- Mayonnaise: Making your own mayonnaise allows you to control the ingredients. Egg yolks play a crucial role in emulsifying the oil and creating a creamy texture. Check out the cooked mayonnaise on Cookidoo.
- Hollandaise Sauce: This classic sauce is a rich and buttery addition to eggs Benedict or vegetables. It’s made by emulsifying egg yolks with clarified butter.
- Lemon Curd: Egg yolks are the main component in lemon curd, a sweet and tangy spread. Enjoy it on toast, scones, or as a filling for cakes and pastries.
- Carbonara Sauce: This Italian pasta sauce uses egg yolks to create a creamy, velvety texture. Combine cooked pasta with crispy bacon, grated cheese, and a mixture of egg yolks and cream.
- Homemade Pasta: If you enjoy making pasta from scratch, egg yolks can add richness to the dough. Traditional egg pasta often uses a combination of whole eggs and extra yolks.
- Pastry Cream: Pastry cream is a versatile filling for cakes, pastries, and tarts. It’s made by thickening a mixture of milk, sugar, and egg yolks.
- Curds and Sauces: Egg yolks can be used in various sweet and savory sauces, such as fruit curds (besides lemon curd, you can experiment with other fruits) or a velvety béarnaise sauce.
- Egg Yolk Glaze: Brushing pastries or bread with an egg yolk wash before baking gives them a beautiful golden color.
- Freeze: Egg yolks can be frozen for up to three months.
Remember to store leftover egg yolks properly, either by covering them with plastic wrap and refrigerating for a short time or freezing for longer storage.
PAVLOVA
Equipment
- TM5 or TM6
Ingredients
- 8 egg whites Large, room temperature
- ½ tsp cream of tartar
- 330 grams caster sugar
- 1 tsp white vinegar
- 1 tbsp cornflour
- 1 tsp vanilla extract optional for taste
Instructions
- Preheat oven conventional at 110℃
- Add 330g castor sugar to Thermomix bowl and mill 15 secs/speed 9. Set aside. Thoroughly clean and dry bowl
- Wipe your bowl and butterfly with some kitchen paper soaked in a little white vinegar. We want that bowl squeaky clean!
- Add 8 large room temperature egg whites to Thermomix Bowl. Add ½ tsp cream of tartar. Insert butterfly and whip 5 mins/37℃/speed 3.5. The eggs should be whipped so when the bowl is inverted, they stay in place!
- Sprinkle 1 tbsp cornflour and 1 tsp white vinegar and 1 tsp vanilla (if using) on meringue in Thermomix Bowl. Place on Thermomix bowl lid with no Measuring cup, butterfly still in, and mix 5 mins/37℃/speed 3. Very slowly add sugar, 1 tablespoon at a time. When finished, check meringue has no sugar crystals by rubbing some between your fingers.
- Draw an 20cm circle on some baking paper, turn paper over and secure to a baking tray with little dots of meringue in each corner. Pile meringue into the circle, be gentle!. Shape into a round cake shape then use a spatula to shape the sides in an upward motion.
- Bake in oven for 1 hour 10 mins (no peeking!) then check pavlova is dry to the touch. Turn off oven. Leave pavlova in oven with the door ajar to cool completely. When completely cold, transfer to serving plate or store in an airtight container until required.
- Decorate as desired with whipped cream and fruit.
